
The Gray Commons / Community guide
Injection Pens 101
An illustrated introduction to preparing, filling and using a reusable injection pen for peptides.
On this page
This guide is for people learning about reusable injection pens for peptides. Follow the photos from preparing the peptide solution to filling the injection cartridge, removing air and giving an injection.
We’ll go through:
- Finding the injection cartridge holder.
- Preparing the peptide solution and filling the injection cartridge.
- Loading the injection cartridge and removing air before use.
- Setting the dose and using the injection button.
Before you start: Know the exact pen model, cartridge type and solution concentration (mg/mL). These community photos explain the hardware; they do not verify that a home-filled cartridge is compatible or sterile. If the concentration or markings are unclear, start with Gray 101: concentration and dose math before setting the dial.
1. Find the injection cartridge holder
Remove the injection pen cap to expose the cartridge holder. These are two separate parts: taking off the cap lets you see the holder; removing the holder lets you insert the glass medication cartridge.
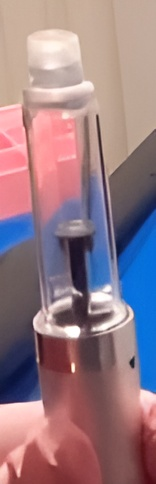
The glass container below is the injection cartridge. It holds the peptide solution inside the reusable injection pen.
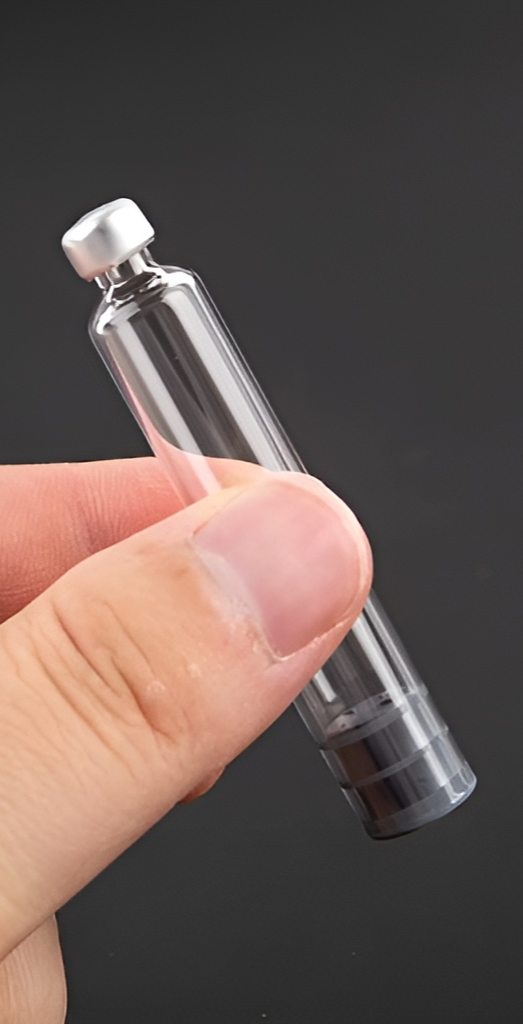
Check how your model opens before applying force. On the HumaPen Savvio, pull off the cap, then unscrew the cartridge holder. Other injection pens may open differently.
2. Prepare the peptide solution
If the peptide is already in solution, there is nothing to reconstitute. For lyo, establish the suitable diluent, final liquid volume and resulting concentration first. Write those details down before thinking about the pen. Gray 101’s reconstitution section explains how these pieces fit together.
For a preparation that requires mixing, check the diluent and amount first. The photos show a syringe drawing bacteriostatic water, followed by transfer into a peptide vial. Mixing happens in the vial; filling the injection cartridge is the next step.
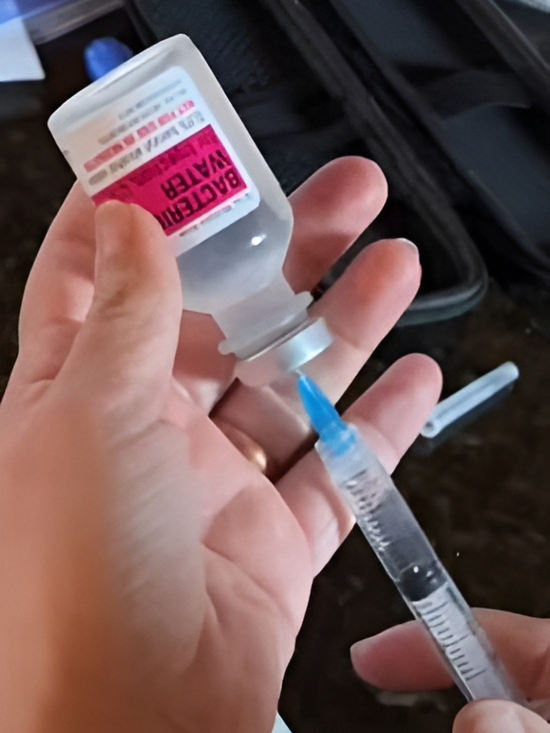
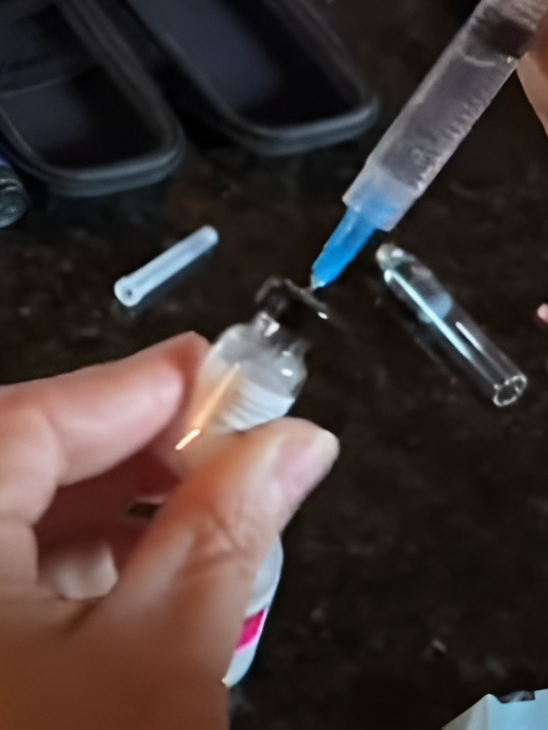
BAC water appears often in community photos, but it is not a universal diluent. Check compatibility and storage requirements for the actual preparation; Pfizer’s product information explains the need for compatibility and aseptic handling. Do not copy a water volume from someone else’s photo.
3. Fill the injection cartridge
The community photos show this filling sequence:
- The prepared peptide solution is drawn into a transfer syringe.
- A separate needle is placed through the injection cartridge’s rubber seal to let air escape.
- The transfer syringe introduces the solution through another needle while the air has a path out.
- After transfer, the needles are removed and the filled injection cartridge is ready to go into its holder.
Filling and removing air before injection are separate steps. The vent allows filling; the flow check in the next section confirms liquid reaches the injection needle.
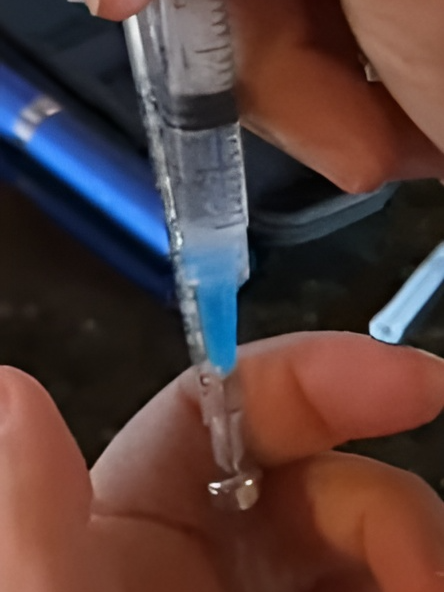
About DIY venting: The second needle gives displaced air a way out. A syringe with its plunger removed is open to room air; it is not a sterile air filter. Being able to move air does not establish a sterile filling method or confirm that the cartridge suits the pen.
Work in a clean preparation area, clean vial septa before access, and use new sterile needles and syringes. Never use equipment that has already been used on a person to access a vial or fill another container. CDC injection-safety guidance
4. Load the injection cartridge and remove air
Insert the medication cartridge into the holder and reconnect it to the injection pen body, following your model’s instructions. For the Savvio’s specified cartridge, the narrow end goes in first and the holder screws back onto the body. Do not force parts that will not fit together.
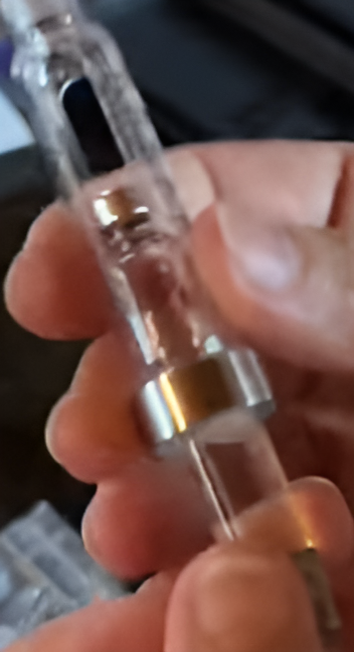
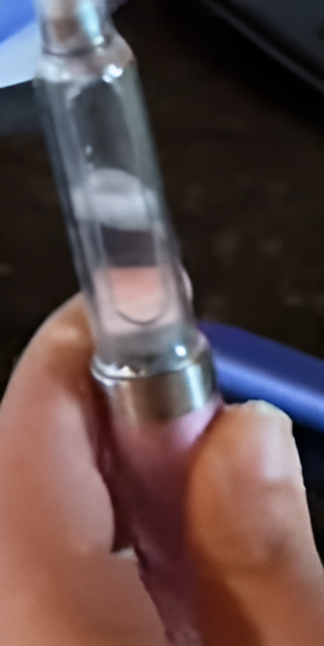
Next, attach a new compatible injection pen needle and remove its protective covers. Hold the injection pen with the needle pointing upward. Follow the model’s priming instructions to remove air and check that liquid comes through the needle.
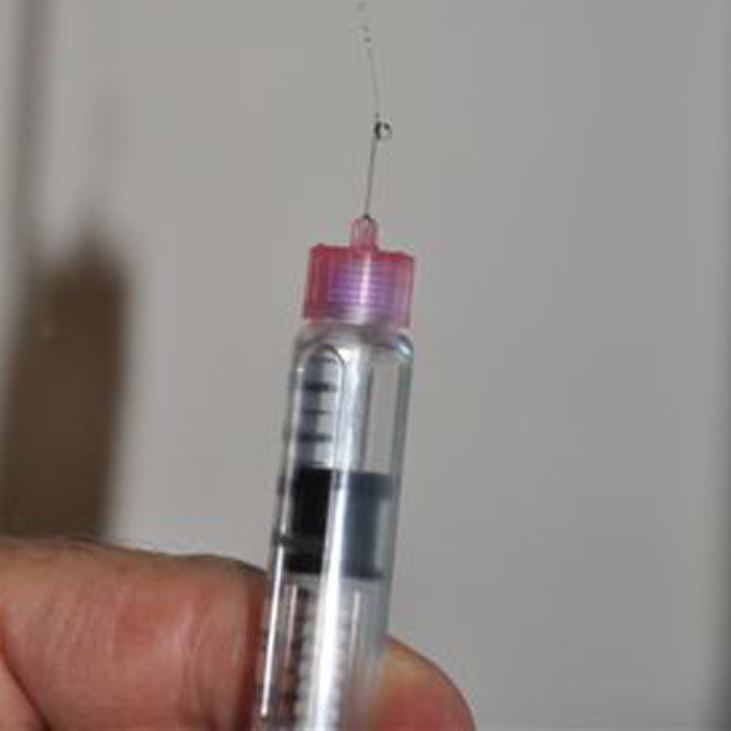
Priming means removing air and checking flow before an injection. For Savvio with its labelled Lilly insulin cartridges, the manufacturer specifies a 2-unit setting, repeated as instructed until insulin appears. It does not instruct users to turn the dial to its maximum. That setting is not a universal instruction for peptide preparations.
5. Give the injection
Before using the injection button, separate two checks: the concentration of the solution and what the pen’s marked setting delivers. A concentration calculation alone cannot verify the pen’s output.
- Confirm the compound, concentration and intended amount, then check the model’s documented delivery scale.
- Read the selected setting in the dose window. For Savvio, the manual specifically says not to set a dose by counting clicks.
- Follow the device’s instructions for injection technique and site preparation.
- Press the injection button fully and keep the needle in place for the time specified for your model.
- Check that delivery is complete before removing the needle.
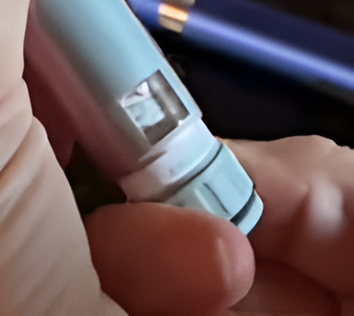
For the Savvio’s labelled insulin use, the instructions specify a 5-second hold and a check that the dose window returns to zero. Follow the instructions supplied with your own device rather than assuming all injection pens work identically.
Not sure how mg, mL and the dial relate? Stop before injecting. Work through Gray 101’s concentration and dose calculations, then check the documented meaning of the markings on your exact pen. The U-100 syringe example in that guide is not a universal pen-click conversion. If the pen’s delivered volume per setting is unknown, the conversion is still unresolved.
After the injection
Remove and dispose of the used needle according to your device instructions and local sharps arrangements. Replace the injection pen cap. Do not store a Savvio with a needle attached. Follow the medication’s storage instructions for a filled cartridge; never share an injection pen with another person.
If something goes wrong, stop and separate the problem:
- Unclear concentration or markings: Recheck mg, mL and the device scale before using the pen again.
- Leak, blockage or a stuck button: Stop using that setup. Do not force the mechanism or turn the dial up to compensate. Use the model’s troubleshooting instructions or contact its manufacturer with the pen and cartridge details. Recalculating the concentration will not repair a mechanical fault.
- Uncertain amount delivered: Do not guess a top-up or repeat the injection. Keep a note of the setting, concentration and what happened. If you may have taken too much or develop severe symptoms, get medical help promptly.
Continue reading
- Gray 101: concentration and measurements
- Lyophilized Peptides: what the vial photographs show
- All guides and posts
Manufacturer instructions
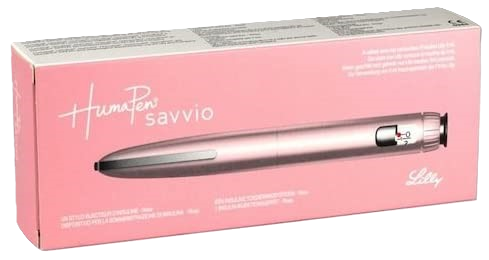
Device reference: Lilly’s HumaPen Savvio instructions. This device is labelled for Lilly 3 mL insulin cartridges. Its manual does not establish the suitability of home-filled peptide cartridges. Other references are linked at the relevant steps.